Elevations are side views of a building or an object. Elevations can either be exterior, which show the exterior sides of the building, or interior, which show an interior view of a building. Elevations usually show exterior views of windows, doors, walls, roofs, landscaping, human figures and various elements that help bring the design to life.
Elevations also give us the opportunity to show the façade and other aesthetical features of the building. Sometimes, certain features or finishes are added to the exterior part of a building for the sole purpose of beautifying it.
For the design that we have been working on from the beginning of this series, let’s generate the elevations.
Generating an Elevation
In drawing the front elevation, we can use the same method used in drawing sections. We can simply project the lines to give us a perfect outline of the view. We are not going to repeat the step-by-step process, however you can read about how to project sectional views here.
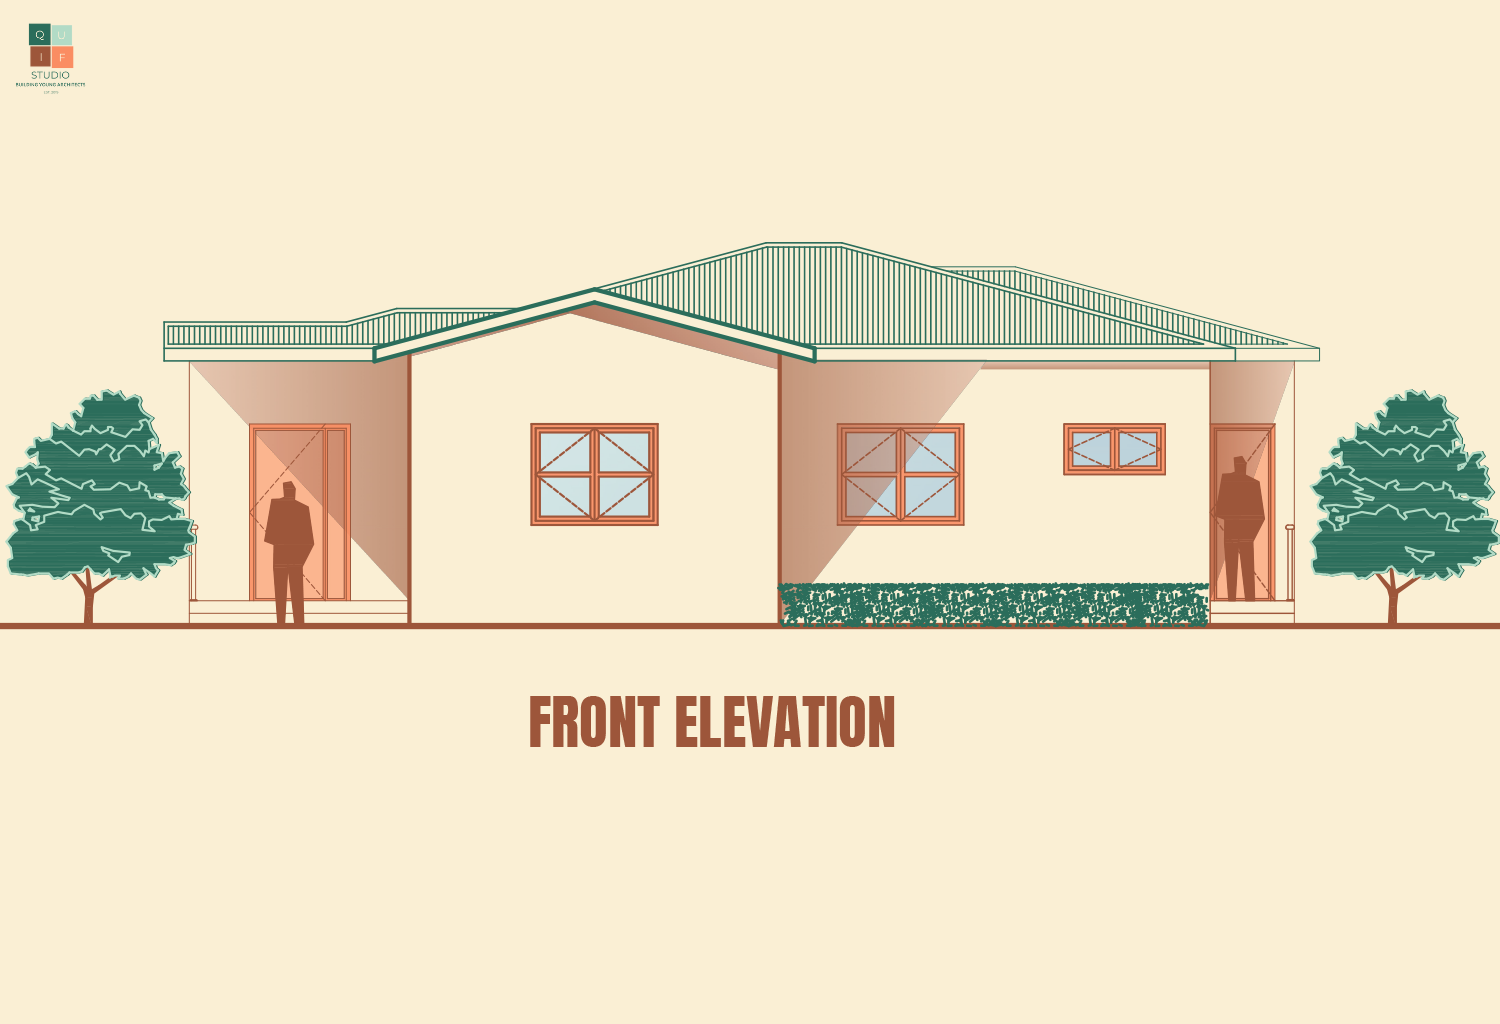
The front elevation will look something like this:
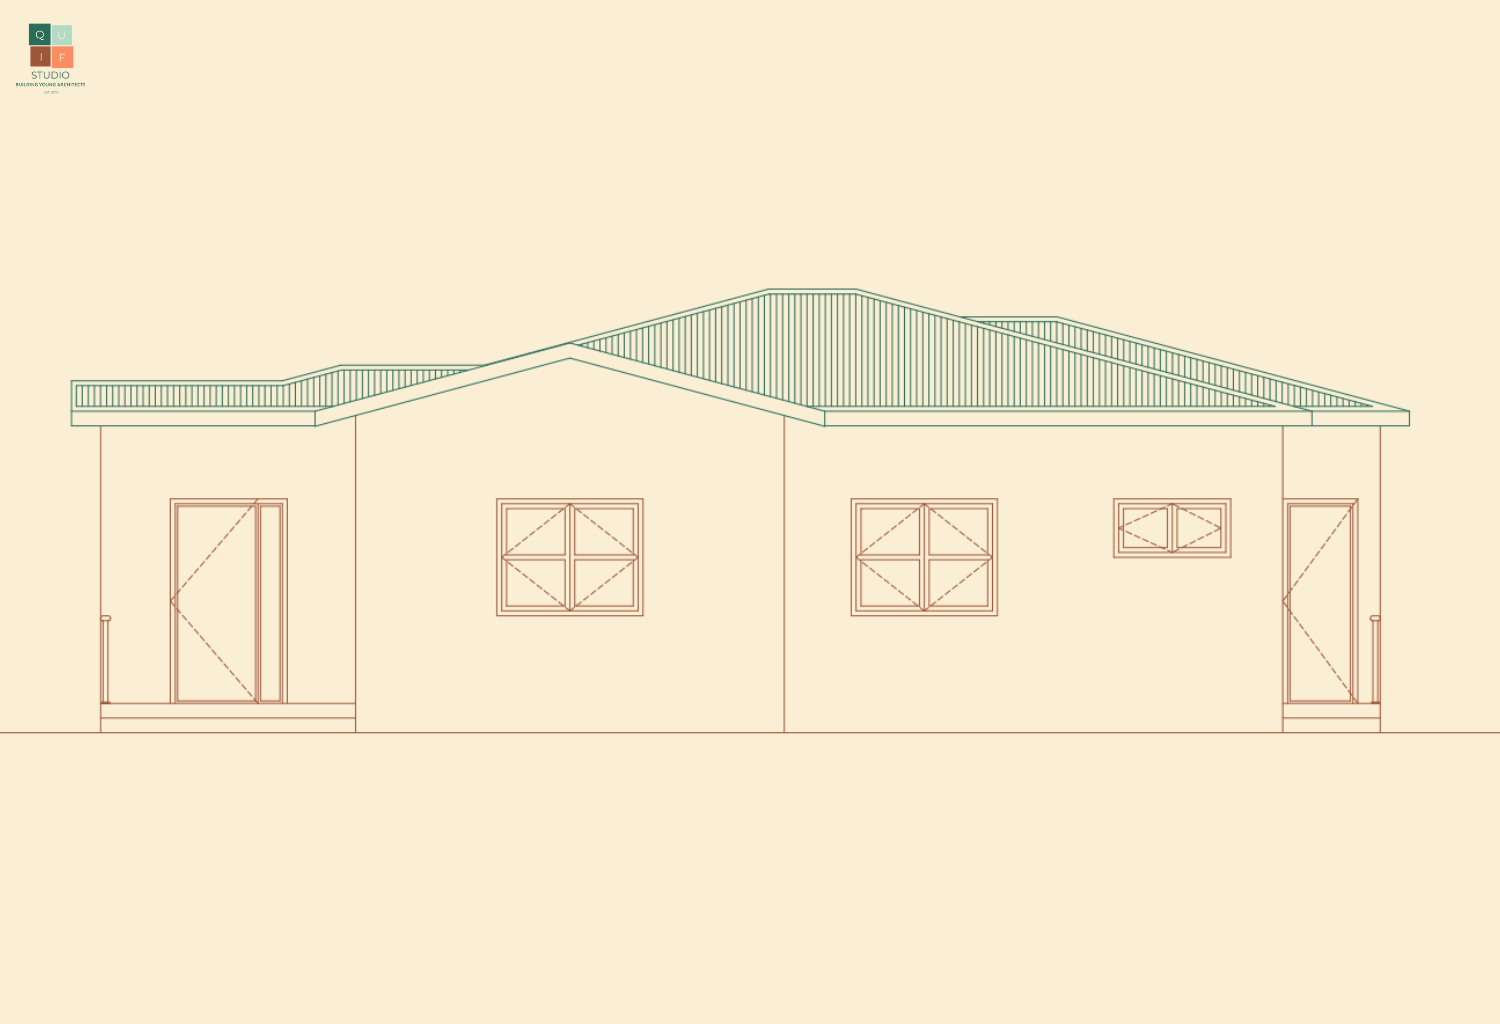
Now that we have the view, we can begin to add various elements to the design. Let’s start by adding some line weight. The objects at the front, which are presumed to be closer to the point of view, will be thicker than objects which are behind (presumed to be further away).
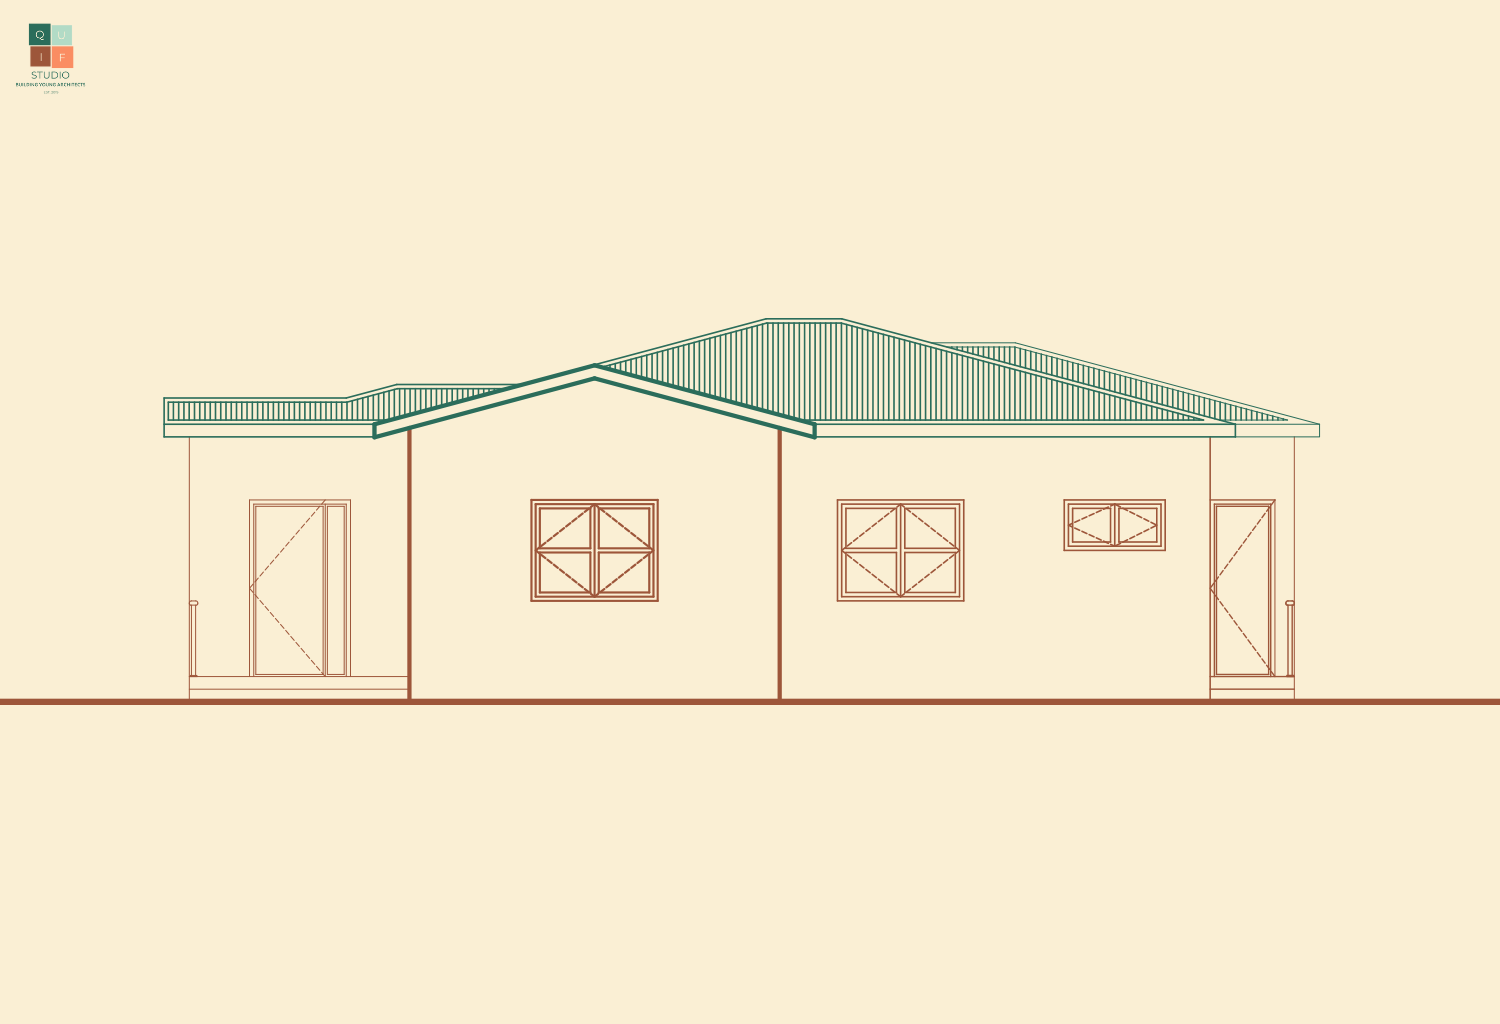
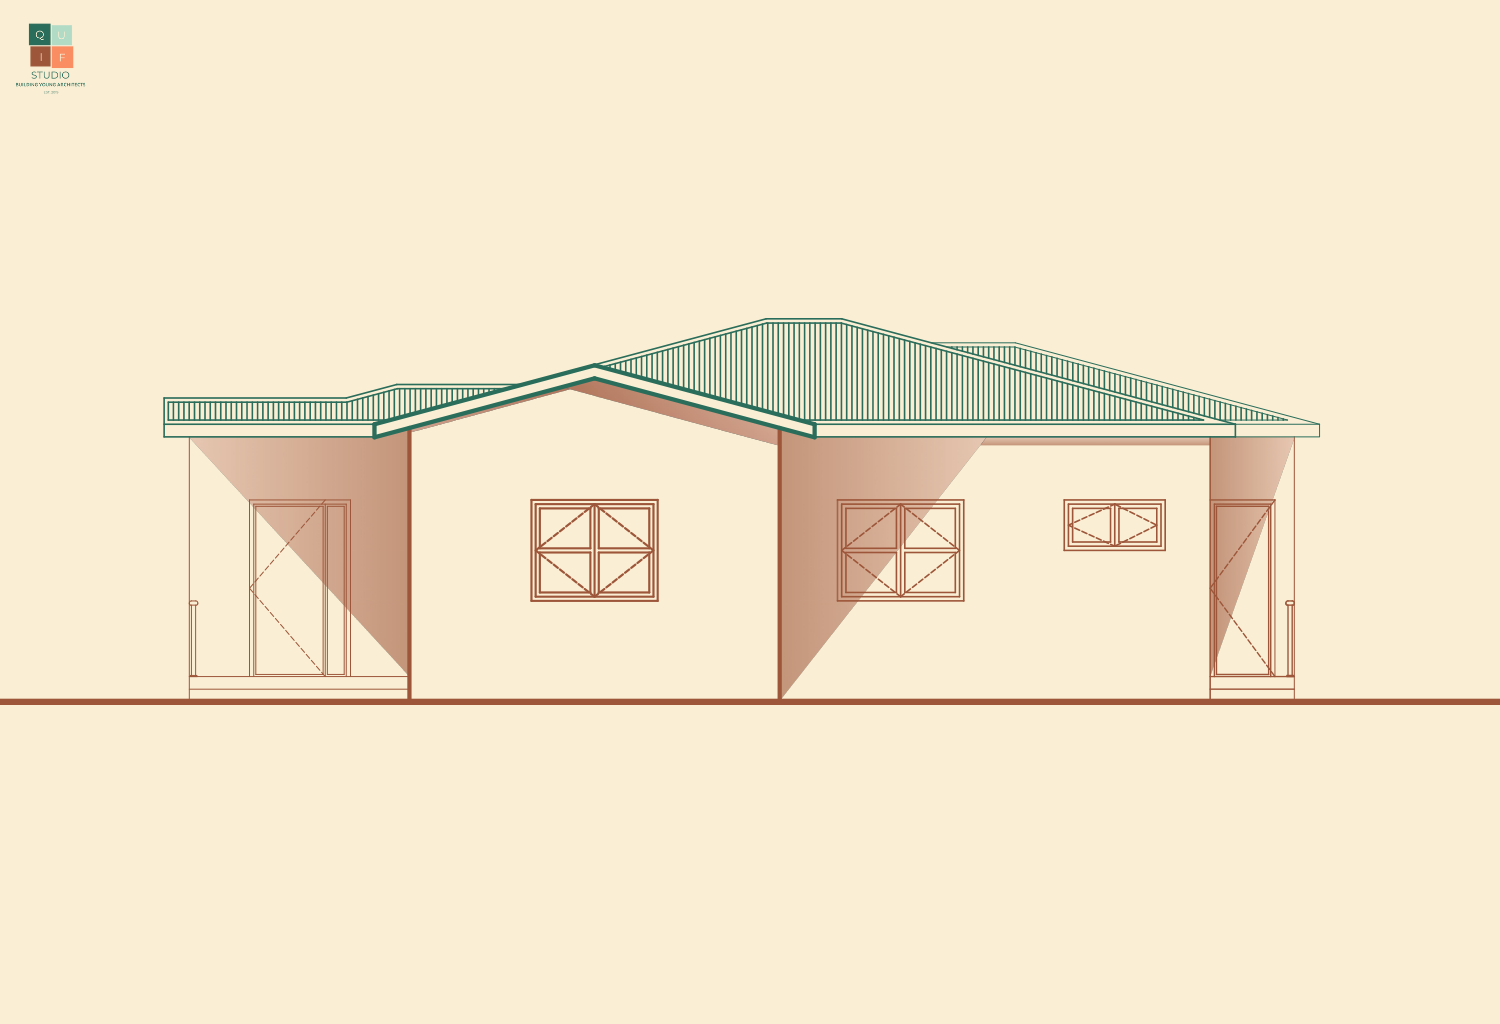
We can now add some shades and shadows to create depth in the drawing.
Let us add some detail to our doors and windows.

Lastly, we can add in some landscaping and human figures to tie it together. The final outcome of the front elevation will look like this:
Using the above steps, we can produce the elevations for all the sides of the building.
Elevation Graphics
To draw an elevation, there are certain graphical and design elements you need to consider.
1. Scale
The scale used in drawing an elevation should be the same as previous drawings. This will give uniformity in the presentations of the drawings. Therefore, we will stick to scale 1:100. For larger drawings, the scale moves to 1:200. To show more details, we use scale 1:50 (scale is in millimeters).
2. Lines
As previously explained, thick lines are used to represent objects closer to a point of view, while thin lines represent objects further away.
All lines are drawn using continuous lines except any hidden objects which are drawn with short dashes.
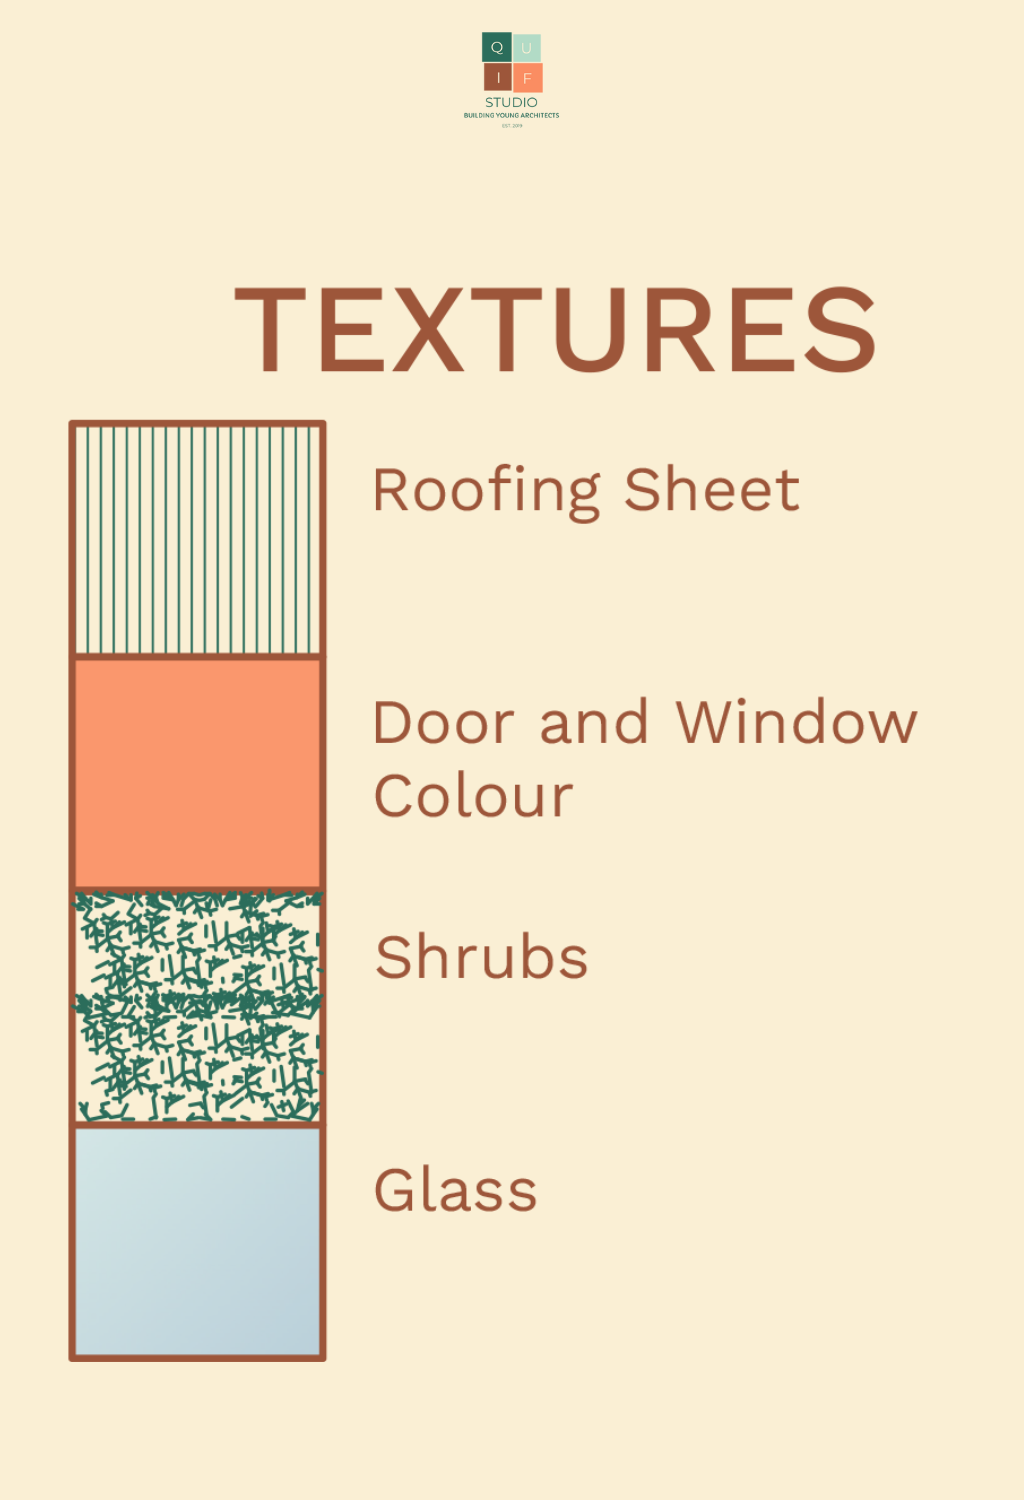
3. Textures
Here are some textures we adopt in drawing elevations:
You can be as creative and expressive as you want when designing elevations. The façade of a building is its first impression. Next week’s post will be the last episode of the series. Thank you for reading and stay tuned!
This is helpful. Thank you for the clarity.
You’re welcome Ummi. Thank you for reading.
This is wonderful, this could really help in beautifying elevation. Thanks Architect
Mashallah, so proud of you mariya.
More grease to your elbow
This is really helpful, thanks a lot for bringing this to us. Baaraka Allaahu feeh
This is Wonderful post with full of informative insights, Thank you so much dear.
we are together with u if you will keep posting such stuff we too will keep following you all the way.
weldone Architect 😘😘😘