A section is a scaled drawing of a building which has been cut or sliced along a plane which is identified in the floor and roof plans. This plane is called a section plane which is represented by a section line.
Earlier we described a floor plan as a horizontal section of a building which cuts through the walls and openings within a building. Building sections are cut vertically.

They give us more detail about the drawing as they show the relationship between various parts of a building. They reveal how foundations, walls, floors, staircases and roofs are all connected to one another.
Selecting the position of section plane is crucial as they reveal important details for construction purposes. Ensure you choose points that give the most information about your design, for example, showing sections through stairs, openings, floor areas with different levels, spaces with different level and ceiling heights, roofs etc.
Now that we have floor and roof plans for our designs, we can select the section plane for the design. A minimum of two section drawings are required for designs; one along the horizontal axis and the other along the vertical axis of a plan. Here are the locations of the two section lines namely Section A-A and Section B-B.


Before proceeding to generate a section, we first have to identify the various elements of our building. For the purpose of this post, I will stick with the common types of elements and materials used in small constructions in our environment.
For the foundation, we will use a raft foundation. The floors will be concrete floors of 150mm thickness. The walls will be concrete masonry blocks of 230mm thickness (9-inch blocks). Structural beams and columns will be of reinforced concrete. The roof will be made up of timber trusses and long span aluminum roofing sheet. The roof will have a slope of 15-degrees.
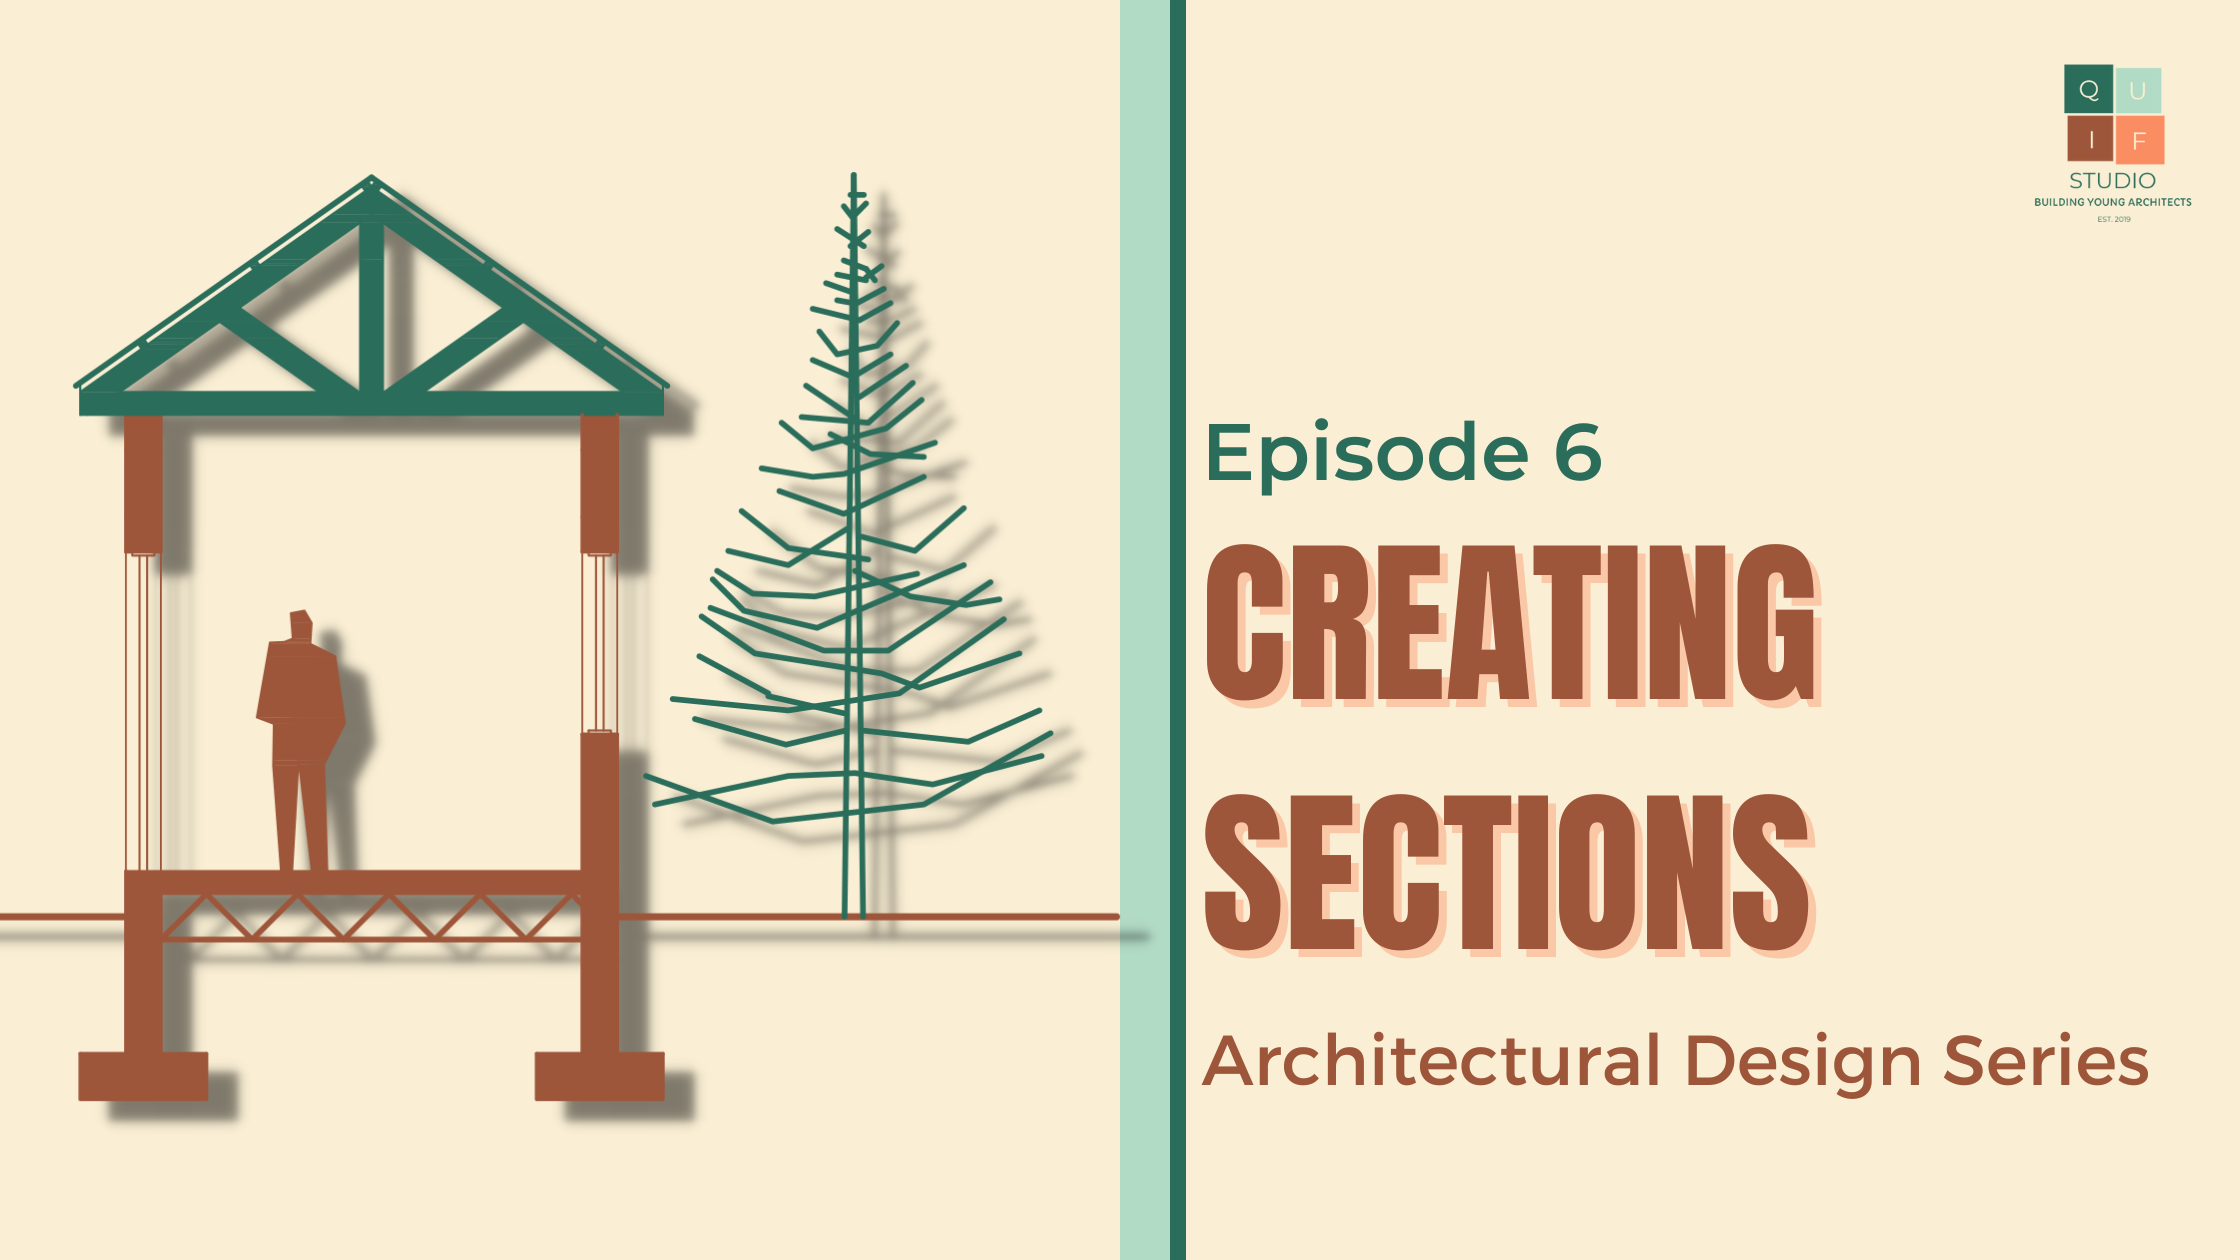
Generating a Section
Drawing a section can be very simple, yet complicating. If you do not have a decent understanding of building construction, it might give you a hard time. Nevertheless, we will try and proceed with this in the simplest way possible. Let’s start with Section A-A.
A simple trick I try to use when drawing sections is just to rotate the floor plan in the direction of the section line and just project all the lines for the section from the floor plan. This saves me time and prevents me from limiting the number of mistakes I might make when drawing it from scratch.

I can now indicate the levels and height of walls, floors and openings.

I repeat the same steps above for the roof.


Now that I have a rough outline for the section, I can begin to add in details of the section. Let’s start with the foundation. The foundation comprises of 6 levels. First, we have the foundation footing, followed by the foundation walls. We then reach the hardcore filling level. On top of that we have the wire mesh and damp-proof membrane. Finally, we have the concrete floor. Due to the scale of the drawing, some thin layers might not be visible like the damp-proof membrane and the wire mesh.

After the foundation, we have the walls, openings and any visible beam. We have beams at 2 major spots, one above openings referred to as lintel beams and the other where the roof sits on referred to as overhead course beam.

Now we proceed to draw out the roof trusses. We already have the outline of the roof shape. To understand how to draw a section of a roof, you first have to know how roofs are constructed. Examine the images below of a roof carcass.

From the picture above, we can see that depending on where we cut a section, we might see various parts of it. This why I mentioned that the location of the section plane is very important. For this design, we cut through the highest point of the roof. Therefore, we will see a traditional king post truss design.

The overall section will look like the image below.

Section B-B will look like the following:

Section Graphics
To draw a section, there are certain graphical and design elements you need to consider.
1. Scale
The scale used in drawing a section depends on the scale adopted for the floor plan and roof plan. In maintaining scale 1:100, the drawings will be of a uniform scale. For large buildings, the scale can move to 1:200, however, since sections reveal important details of a building, it will be better to use larger scales such as 1:50 or even 1:25 to show more detail (scale is in millimeters).
2. Line weight
There are a lot of line weights displayed in a section drawing. The walls, floors, beams roof trusses being directly sliced into have the thickest lines. Openings, ceilings, fixtures and other objects visible within the section are drawn in a medium thickness while floor finishing, wall finishes and dimensions are drawn with thin lines.
All lines are drawn using continuous lines except any hidden objects which are drawn with short dashes. Grid lines are thin chained lines.
3. Textures
Here are some textures we adopt in drawing sections:

4. Labelling and Dimensions
Labelling spaces, objects and materials/finishes are important part of sections. We can proceed to add grid lines and dimensions to the section as final touches.
It will definitely take some practice before you are able to nail section drawing. My advice will be pay attention in building construction classes. Next post talks about creating elevations. Stay tuned to read about it. Thank you for reading!

Great Post, I got this very important.
Thanks a lot.
im a teacher and this is very useful
Thank You so much my mentor, you are really helping us out there, may God reward you 🙏