You are at a stage where you have a functional floor plan. The next step to take would be to create a roof. A roof is a building element that covers or forms the top of a building. There are various types of roofing designs. Here are 12 common roof designs.

For the purpose of this post, I will be using a combination of Gable and Hip roof type.
Elements of a Roof
Before creating a roof, we first need to understand what a roof is made up of.

Generating a Roof Plan
After selecting a suitable roof type for your design, the next step would be to sketch out the roof footprint/layout. Using the floor plan created in Episode 4: Creating Floor Plans, the footprint of the roof covers all the external walls . This is drawn using a broken line to indicate that it is a hidden detail.

At this point, we can identify the edge of the roof. This would also be the location for the roof fascia. For this design, we will use a width of 300mm from the external wall for the fascia.

Now we can draw out the plan of the roof. The gable part of the roof will be at the front and left side of the building, while the rest of the roof will be a hip design.
To draw these out, it is important to know a little rule I like to call the 45-90 rule. This rule helped me learn how to draw out the plan of a hip roof. The lines drawn to make a hip roof are usually projected at a 45-degree angle. We will refer to those lines as Hip lines. Where these two points meet creates a 90-degree angle or a right angle. At any point where a 90-degree angle is met, a straight line emerges from it. That straight line forms a ridge line. Examine the example below.

For more complex roofs, like roofs that have valleys, the same concept is applied with a little twist. The valley lines are extended to connect with the ridge line in their path. At the point where they meet, a hip line is introduced. The direction of the hip line should be towards the highest point of the roof. This line will either connect with another hip line (coming at a 45-degree angle) to form a 90-degree angle to form another ridge line, or will join the highest point of the roof and complete it. Examine the example below:


For this design, the plan for the roof will look like this:


Roof Plan Graphics
To draw a roof plan, there are certain graphical and design elements you need to consider.
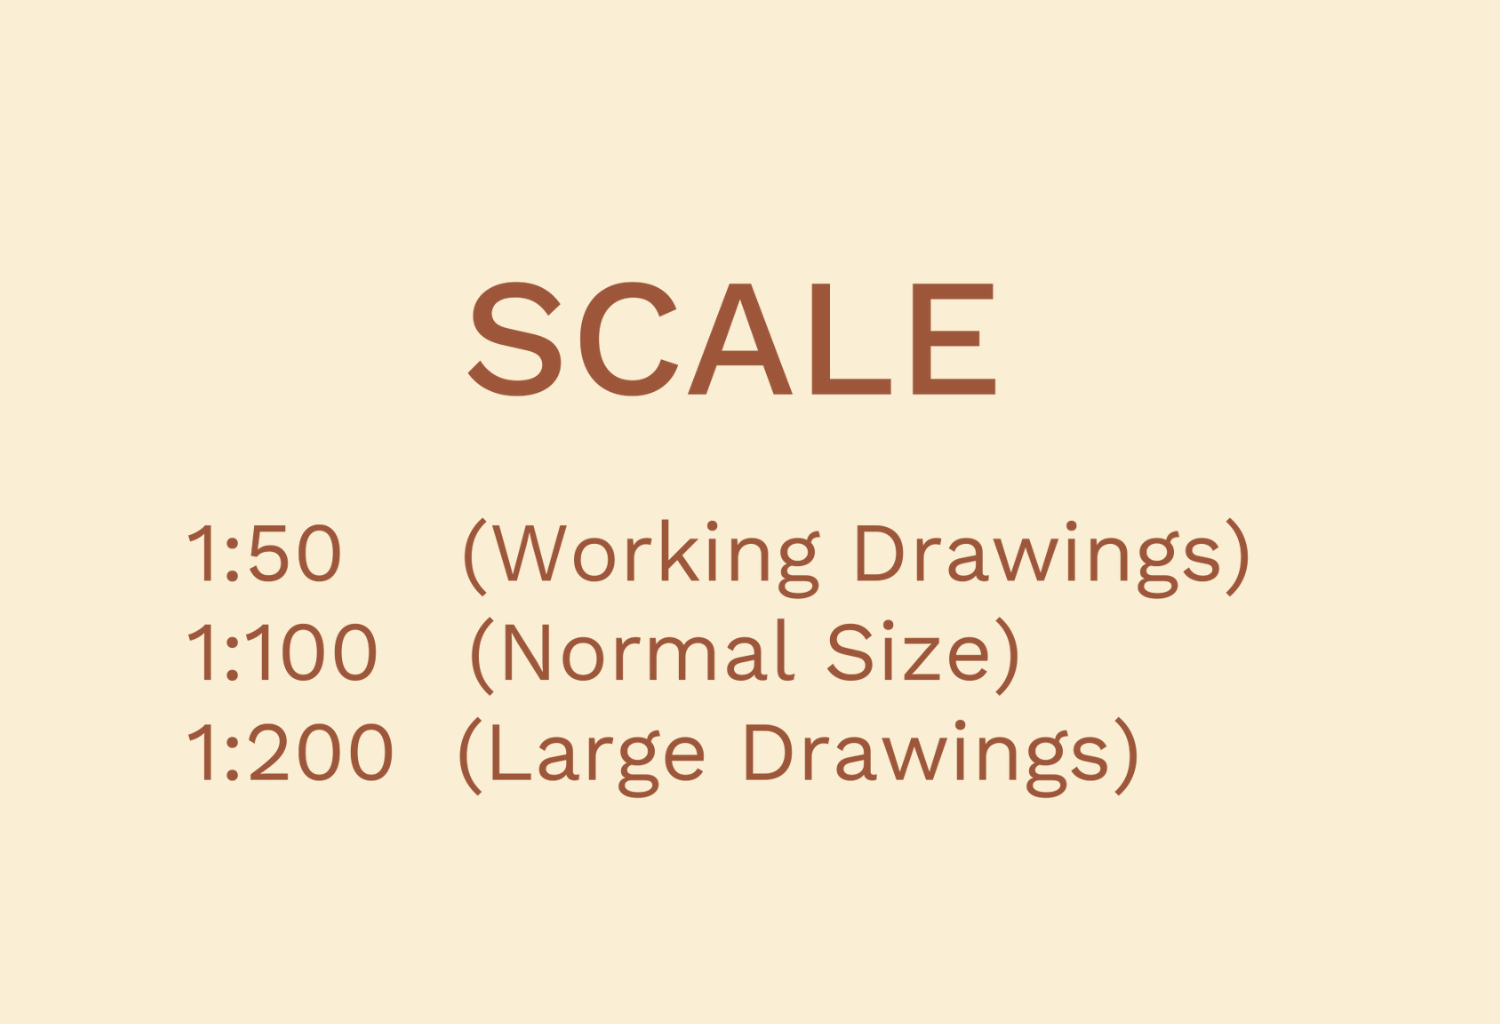
1. Scale
The scale used in drawing a roof plan should be the same as the scale of the floor plan. This will give uniformity in the presentations of the drawings. Therefore, we will stick to scale 1:100 to draw the roof plan. For larger roof plans, the scale moves to 1:200. To show more details on a roof plan, we use scale 1:50 (scale is in millimeters).
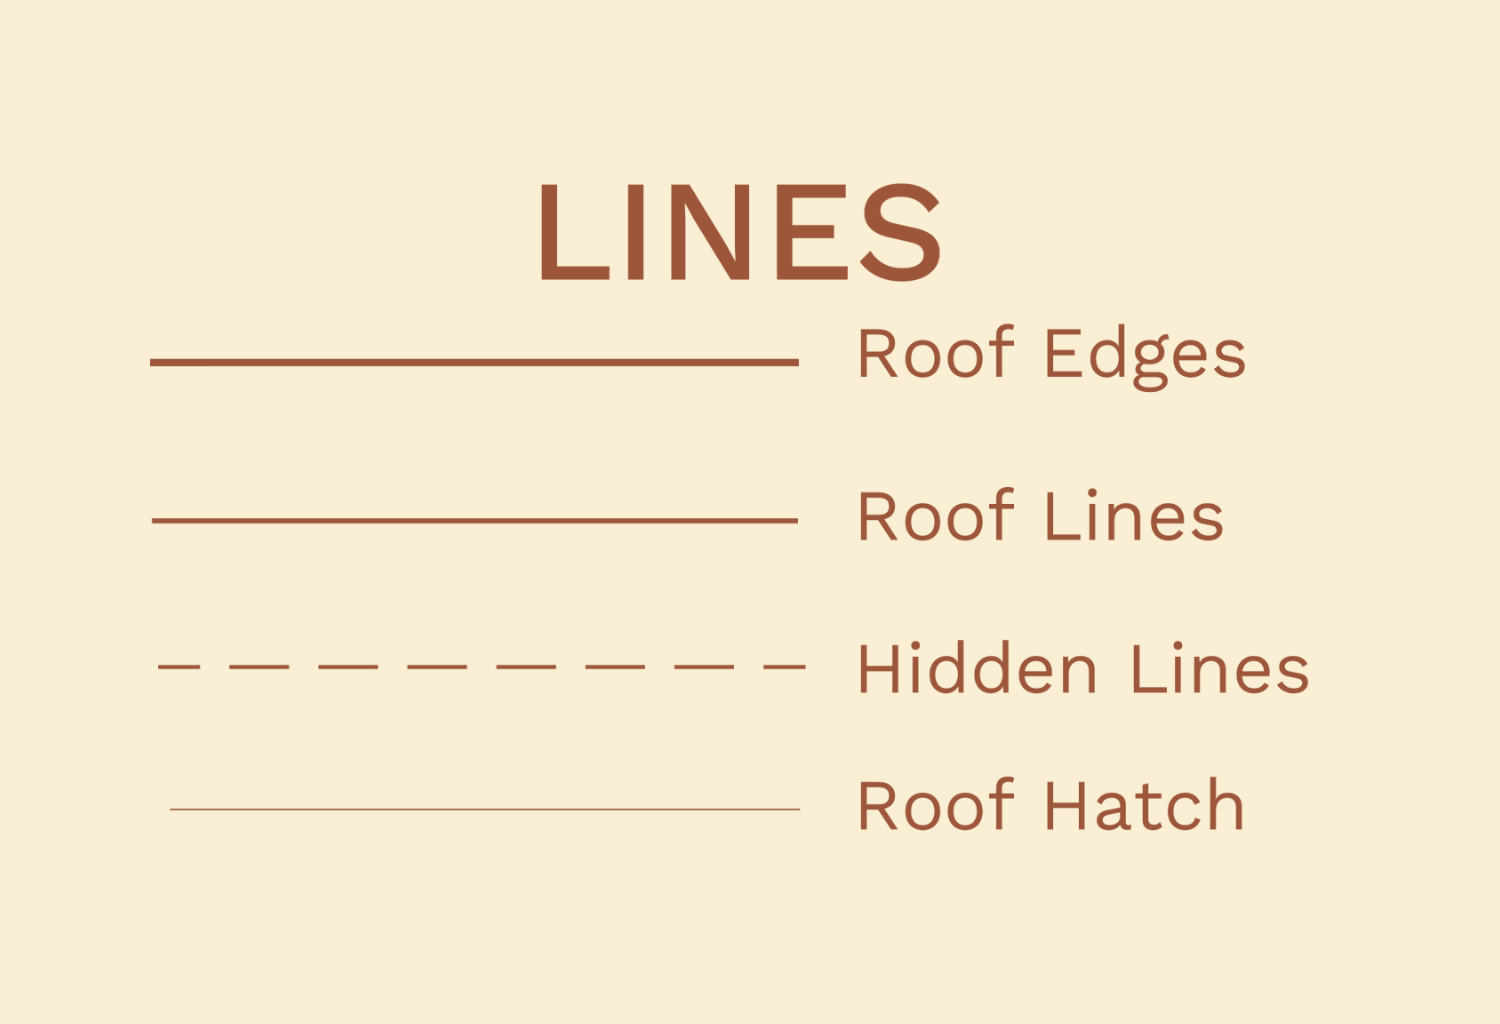
2. Lines
There are a lot of line weights displayed in a roof plan. The outline of the roof is usually the thickest. The roof lines (ridges, hip, and valley) follow with medium thickness. Hatches and other details are drawn with thin lines.
For the line types, the roof outline, roof lines and hatches are drawn using continuous lines, while hidden objects are drawn with short dashes.
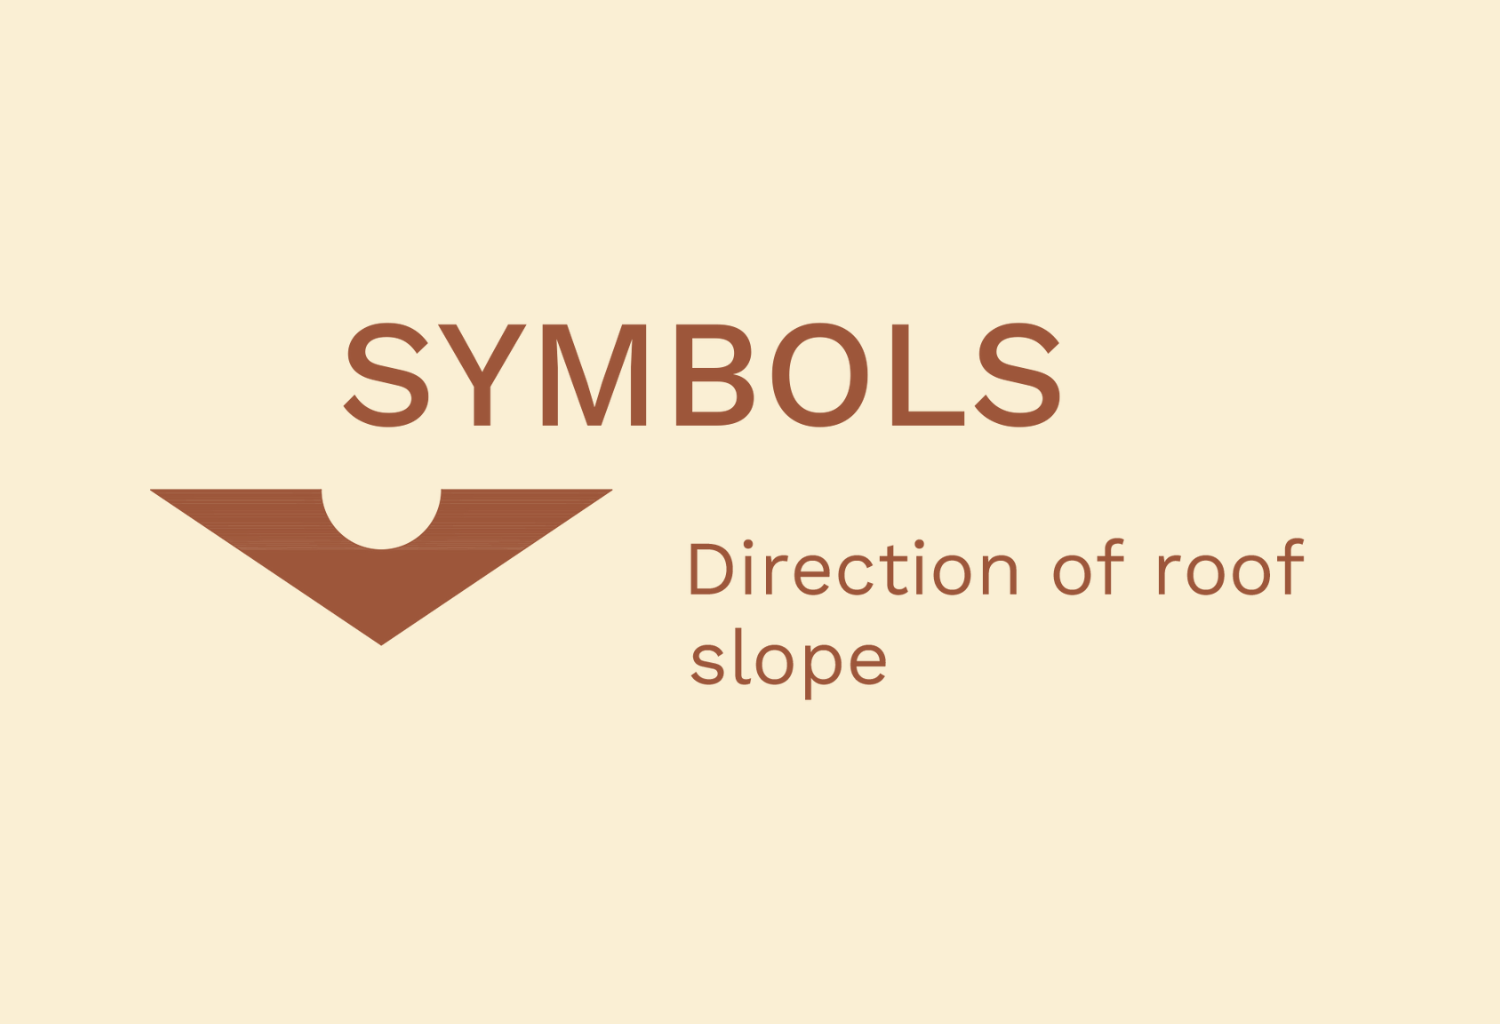
3. Signs and symbols
The main symbol used in a roof plan is used to show the direction of the slope of the roof.
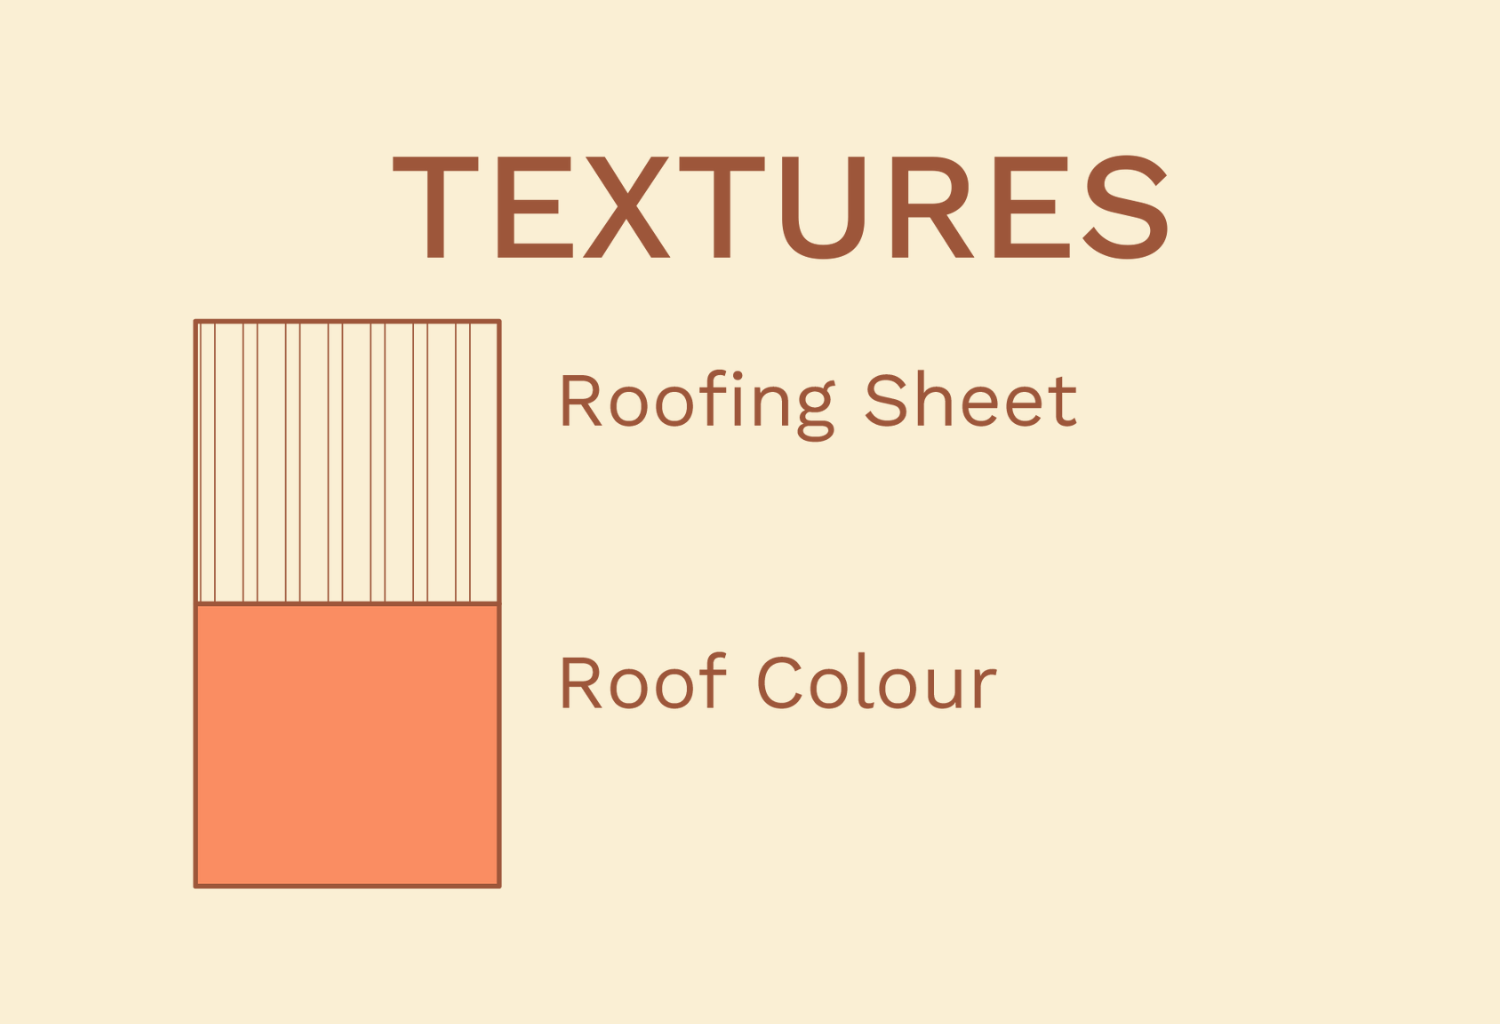
4. Textures
Here are some textures we adopt in designing roof plans:
Roof plans can be over looked during design, but they are vital for the next step in the series. Stay tuned to find out in the next post . Thank you for reading!

Ma sha Allah. Tabarakallah 👍🏻
This s beautiful,masha Allah
Ma shaa Allah, TabaarakalLah,
Simply excellent, concise and elaborate.
Keep it up and going.
Ma Shaa Allaah
Allah ya kara ilimi.mashaa allah